How to configure an iPhone for Email
Note! Some iPhone connections may not allow IMAP. If you are getting errors setting up IMAP, please try switching to POP.
Steps to configure your iPhone email
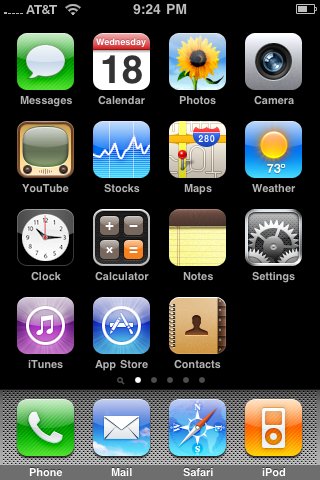 From your home screen, Open "Settings".
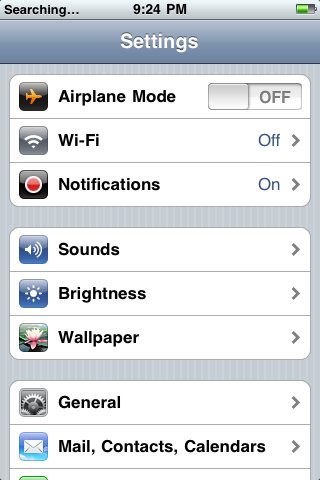 Open "Mail, Contacts, Calendars".
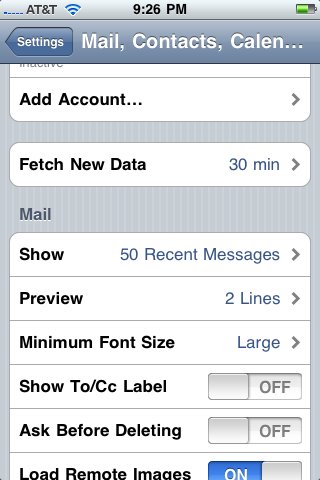 Hit "Add Account...".
 Select "Other".
 Under the "Mail" section, choose "Add Mail Account"
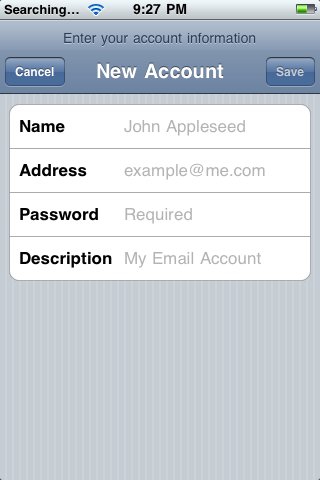 Fill in the information on this "New Account" screen. Your address will be the entire email address, the password will be the password that you set for just this email address.
 The iPhone will think about your settings, then it will bring you to the next screen.
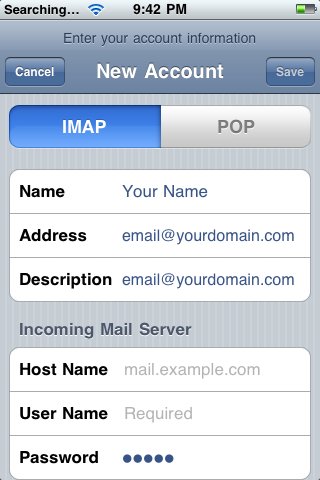 You will then be asked to choose between IMAP or POP. This depends on what your personal preference is. In most cases with a mobile device, you will choose IMAP as it will be able to synchronize to other devices that check the email too (i.e.: a laptop, a desktop, or another mobile device). <
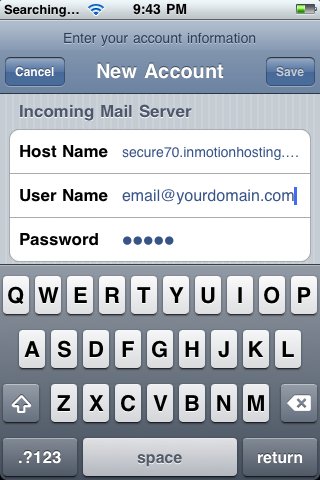 Under the "Incoming Mail Server" section, enter your information:
Host Name: secure##.inmotionhosting.com
Be sure to replace ## with your server number.For example, if your hostname is biz24.inmotionhosting.com, your server number is 24. You would then replace secure##.inmotionhosting.com with secure24.inmotionhosting.com.
User Name: email @your-domain.com
Password: (enter your email address password here)
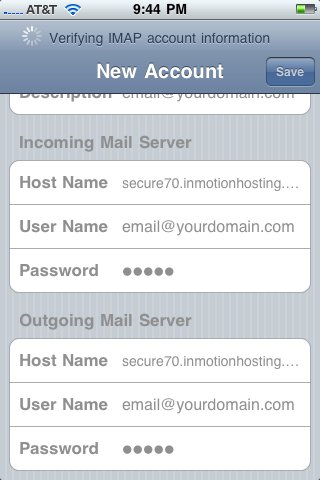
 Under the "Outgoing Mail Server" section, enter your information:
Host Name: secure##.inmotionhosting.com
As in the previous step, please be sure to replace ## with your server number.
User Name: email @your-domain.com
Password: (enter your email address password here)
 Hit "Save" in the top-right corner. The iPhone will process your information. This may take up to 10-15 minutes depending on your connection speed. It may take considerably longer if you are NOT connected with WiFi and are only using the regular 3G or Edge connection. It is highly advised that you connect with WiFi.
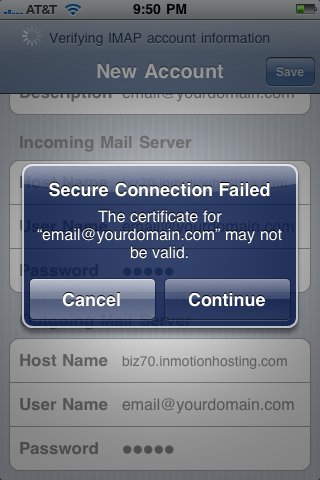 By default the iPhone will try to setup all connections with SSL enabled. If you do not use the correct SSL host name, you may receive an error.
If you see an error that says:
"Cannot connect using SSL, Do you want to try setting up the account without SSL?"
Choose "Yes"Hitting "Yes" will force the iPhone to use the non-SSL settings. This is fine to use, but you may find it troublesome later if you are trying to send mail and the ISP you are connected to has port 25 blocked.
In our examples, we used the SSL host name information to avoid the errors. If you do NOT use the correct SSL host name, you will see an error similar to:
"Secure Connection Failed, The certificate for (your email address) may not be valid."
Choose "Continue"The iPhone will yet again process your information. This may take up to 10-15 minutes depending on your connection speed. This error may pop up again (this time for the Outgoing server), select the same option again "Continue". Again, you will have to wait.
 Finally, the screen will slide-down out of the way, and your email account is setup!
Syncing your IMAP folders on your iPhone
When you first set up your iPhone to check your email hosted with InMotion Hosting, it's possible you will not see the Sent, Trash, Drafts, and Junk folders. Typically, these folders are in your INBOX and you'll need to set the prefix path for it to work correctly.
How to subscribe to folders
- If you set up the IMAP mail account on your iPhone, you may not find the IMAP folders in your Inbox folder. If this is the case, you'll need to specify the IMAP path prefix.
- You can enter in the IMAP path prefix by going to Settings > Mail > Account > Advanced > IMAP Path Prefix.
- Enter the word "INBOX" (use all caps) and save the setting. Now, your folders should appear as subfolders in the Inbox.